Continuous Integration for PHP with Jenkins
Today I would like to show you how to setup an continues integration server for a PHP project with Jenkins. If you don’t know what the continues integration is have a look at Wikipedia. In a simple words It can be explained as a process of frequent commits to the project’s mainline and running all sort of automated tests to discover problems as soon as it’s possible. CI comes with a long list of benefits and only two disadvantages (according to Wikipedia). One of them is “Initial setup time required”.
Setting up a CI server can be tricky if you haven’t done it before. It relies on various tools which can yell for dependencies and configuration. Fortunately Jenkins on it’s own is very simple to install.
|
1 |
$ apt-get install jenkins |
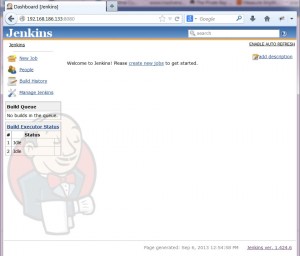
That should install and run the service. You should be able to access it immediately on port 8080.
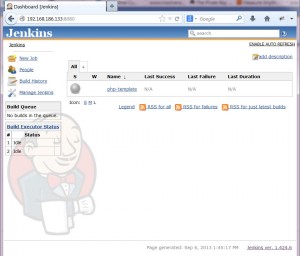
You need to create a new job but before we do that lets install the PHP template for Jenkins. It is a very nice project created by Sebastian Bergmann (and other contributors) to standardise Jenkins jobs for PHP projects.
|
1 2 3 4 5 6 7 8 |
$ wget http://localhost:8080/jnlpJars/jenkins-cli.jar # install dependencies for the template $ java -jar jenkins-cli.jar -s http://localhost:8080 install-plugin checkstyle cloverphp dry htmlpublisher jdepend plot pmd violations xunit $ java -jar jenkins-cli.jar -s http://localhost:8080 safe-restart $ sudo apt-get install curl # install the template $ curl https://raw.github.com/sebastianbergmann/php-jenkins-template/master/config.xml | java -jar jenkins-cli.jar -s http://localhost:8080 create-job php-template $ java -jar jenkins-cli.jar -s http://localhost:8080 safe-restart |
The template is installed but you will need some PHP tools to generate artifacts for Jenkins:
To simplify the installation I created a Jenkins skeleton project which handles dependencies with the Composer. The project comes with an example code and configuration so you can see a real output straight out of the box. Build script is compatible with Phing so you don’t have to install Ant.
|
1 2 3 4 5 |
$ git clone https://github.com/lukaszkujawa/jenkins-php-quickstart.git $ cd jenkins-php-quickstart/ $ php composer.phar install # 5 minutes later... $ sudo vendor/bin/phing install |
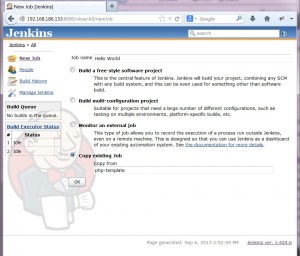
Now you are ready to create a new Jenkins job. Click on the “New Job” link in the left hand side menu. Make up a job name, select “Copy existing Job” and type “php-template” into the “Copy from field”.
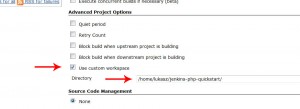
The first important thing is to set the project’s workspace. Got to “Advance Project Options” and check “Use custom workspace”.
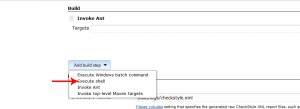
Scroll down to the “Build” section and add a new build step.
Select “Execute shell” and paste “vendor/bin/phing -logger phing.listener.NoBannerLogger” to the “Command” text box.
Delete Invoke Ant.
Find PHPUnit section (almost at the bottom of the page) and uncheck “Delete temporary JUnit files”.
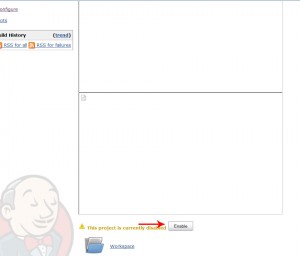
Save settings and enable the project.
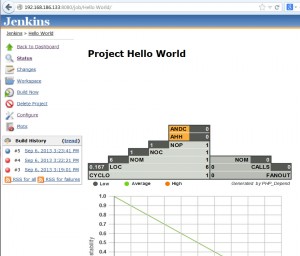
You are ready to perform your first build. Click on “Build Now” on the left hand side navigation. Give if a few moments and you should see a new line in the “Build History” below the navigation.
If everything went right you should see a blue circle.
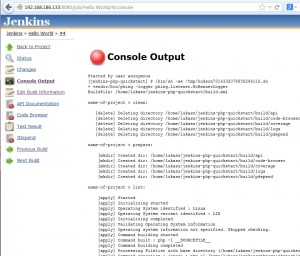
As you can see on the above screenshot I had 2 unsuccessful attempts (I forgot to uncheck deleting temporary JUnit files). If you want to know what went wrong you can always click on a red circle.
I recommend you to play around with Jekins settings and features. You should also look into the configuration files and tweak them according to your needs:
- phpcs.xml
- phpdox.xml
- phpmd.xml
- phpunit.xml
- build.xml
The last challenge is to update code and run build on every commit but I will leave that with you. I hope this article gave you a smooth start with Jenkins and you will try continues integration with one of your projects.

1 Comment
Dmitri
06/01/2014Hallo!
Thank you for a nice post!
Got a slight trouble on Debian with your setup. Problem came in with last command
sudo vendor/bin/phing install
In the job specified (target=”install”) inside build.xml, when changin owner there was “jenkins.jenkins” I have changed it to just “jenkins” and build suceeded